AR
Virtually place the model into your real life environment to simulate a cadaveric dissection. View device compatibility
JUMP TO CATEGORY
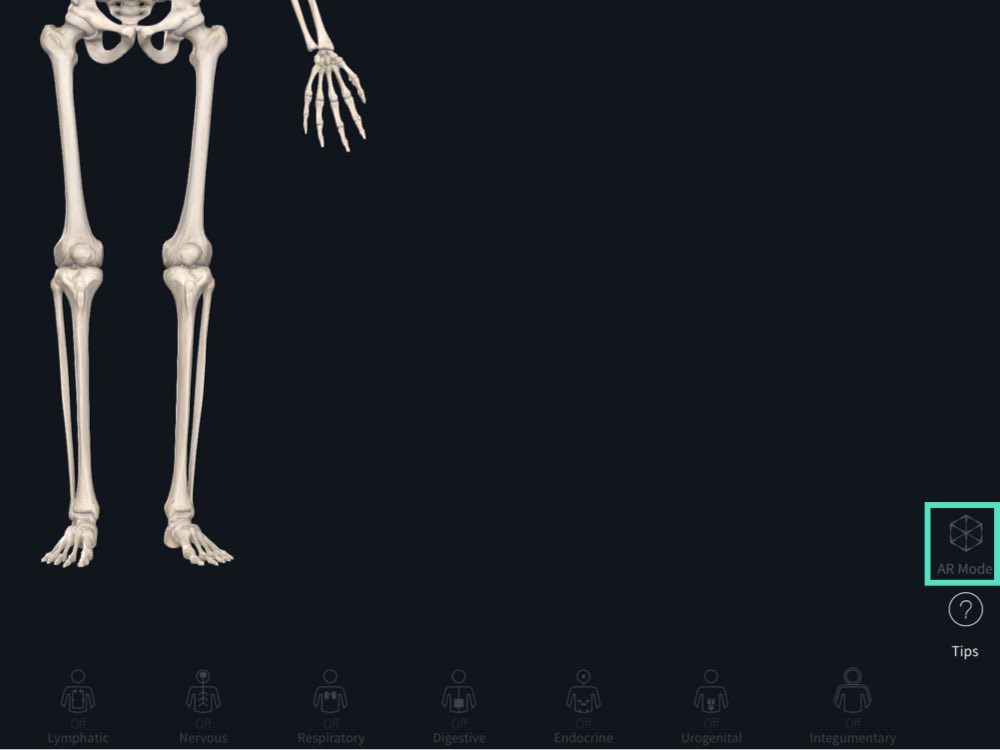
Access AR Mode
To view the model in AR, set it up as you want to view it. You can make edits with Tools and change View Options. Once you’re happy, tap the AR Mode button in the bottom right corner of the screen to view in AR. If you do not see the AR Mode button, go to Settings > Preferences > Active Features. Activate AR as a menu item if it’s available. If you do not see it in this menu, then your device is not compatible with AR.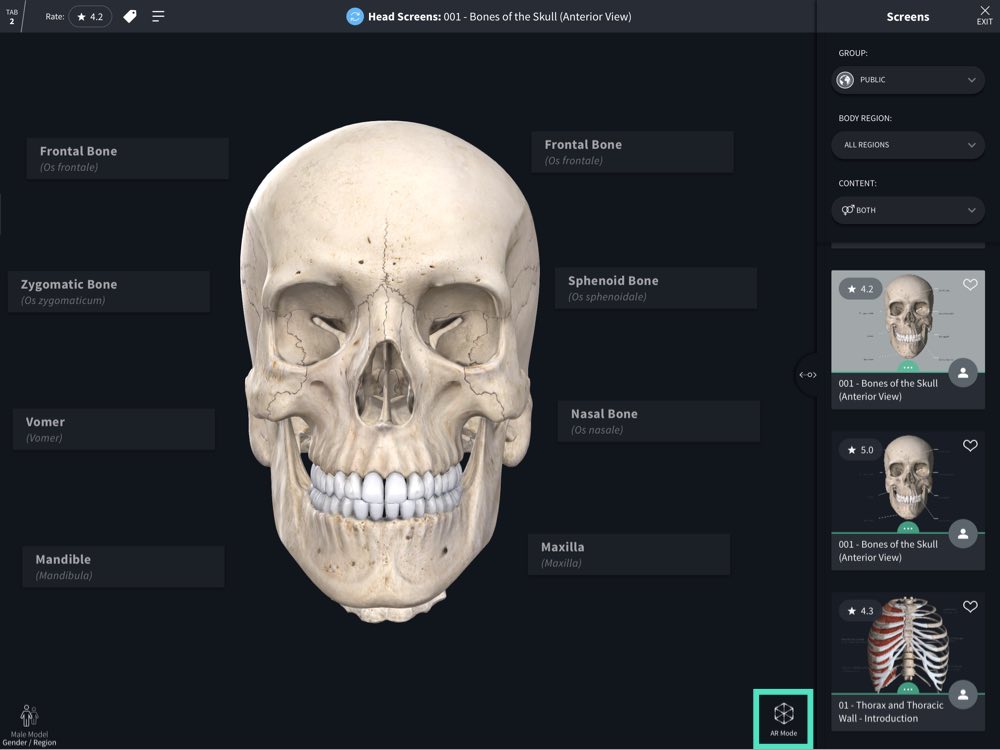
Opening Screens in AR
To view a Screen in AR Mode, open Library, select the Screen, then tap the blue button in the bottom right corner of the screen.
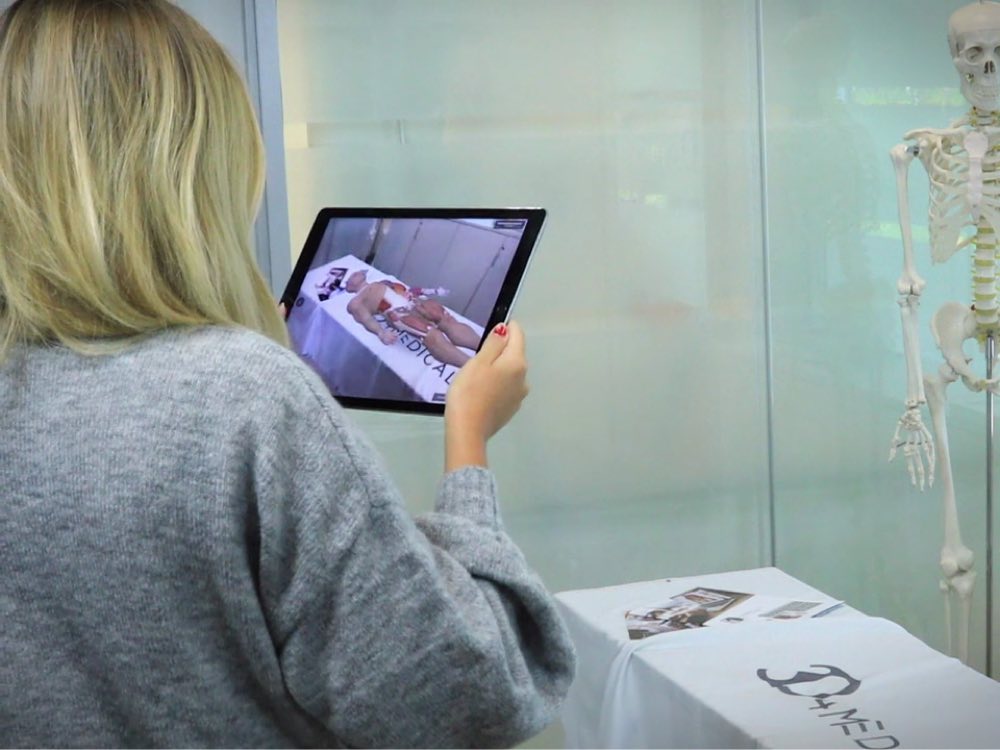
Find a Surface
Point your camera at a flat, textured surface to begin scanning for a location to place the model. Any suitable locations detected will be highlighted in blue. Tap on one of these locations to put the model there.
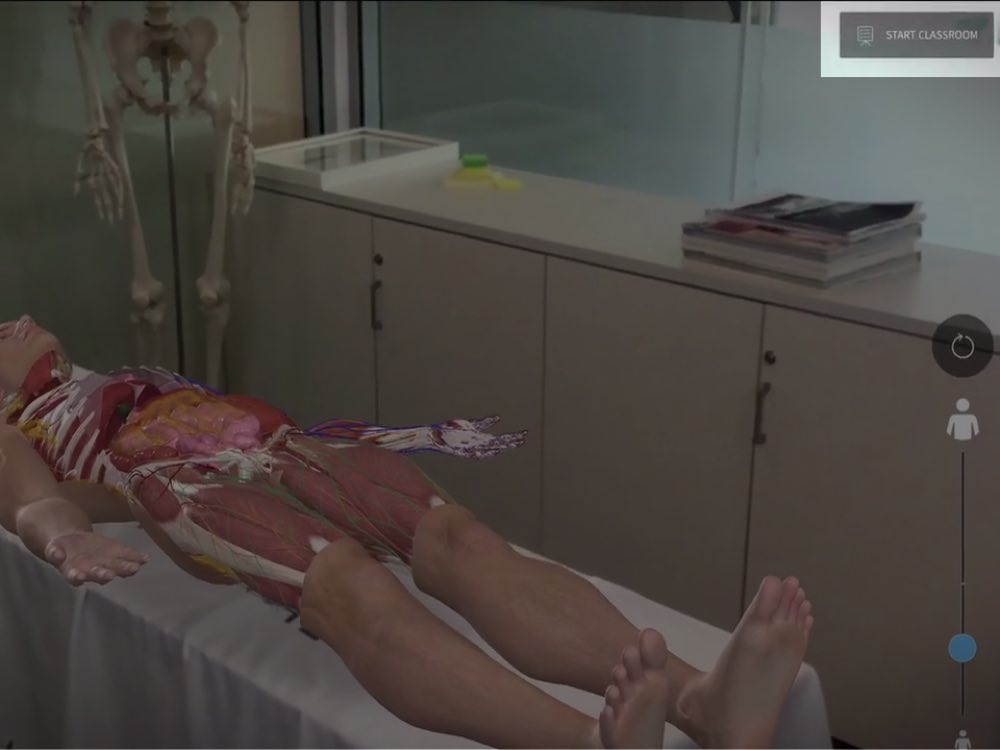
Exploring the Model
Once the model is placed, you can begin to move around it with your iPad. View it from any side, and any angle of elevation. Your Tool edits and View Options remain on the model so you can see them in full view.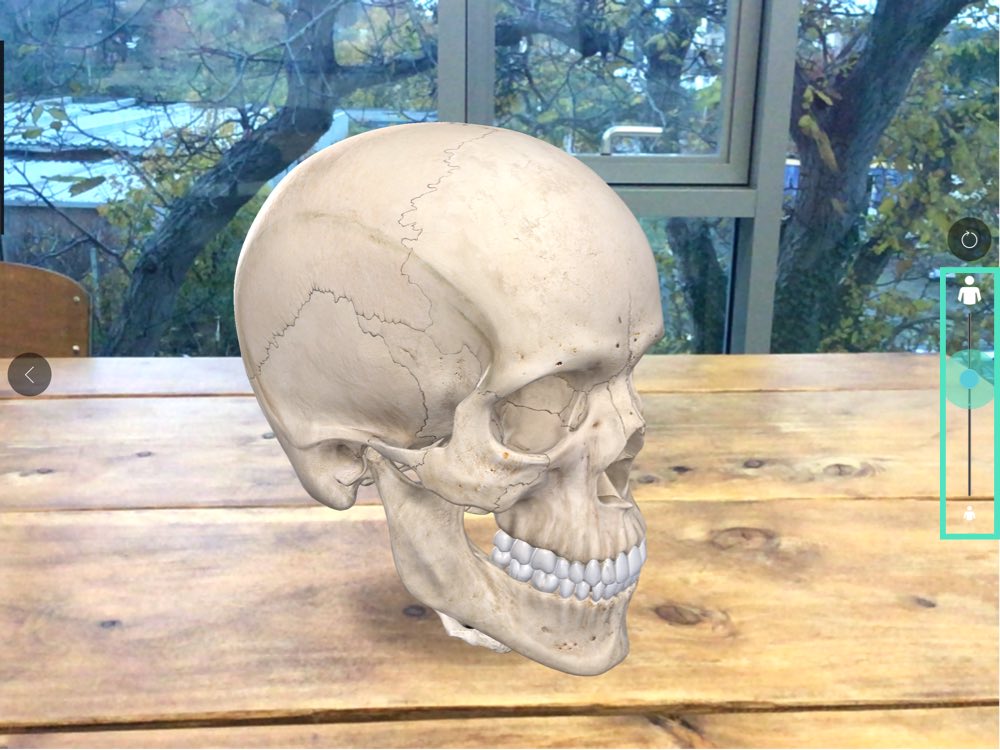
Scale Slider
The Scale Slider on the right-hand side of the screen allows you to change the size of the model while in AR mode. Slide the scale up and down to bring the model from a diorama size on a table to the size of a real human person.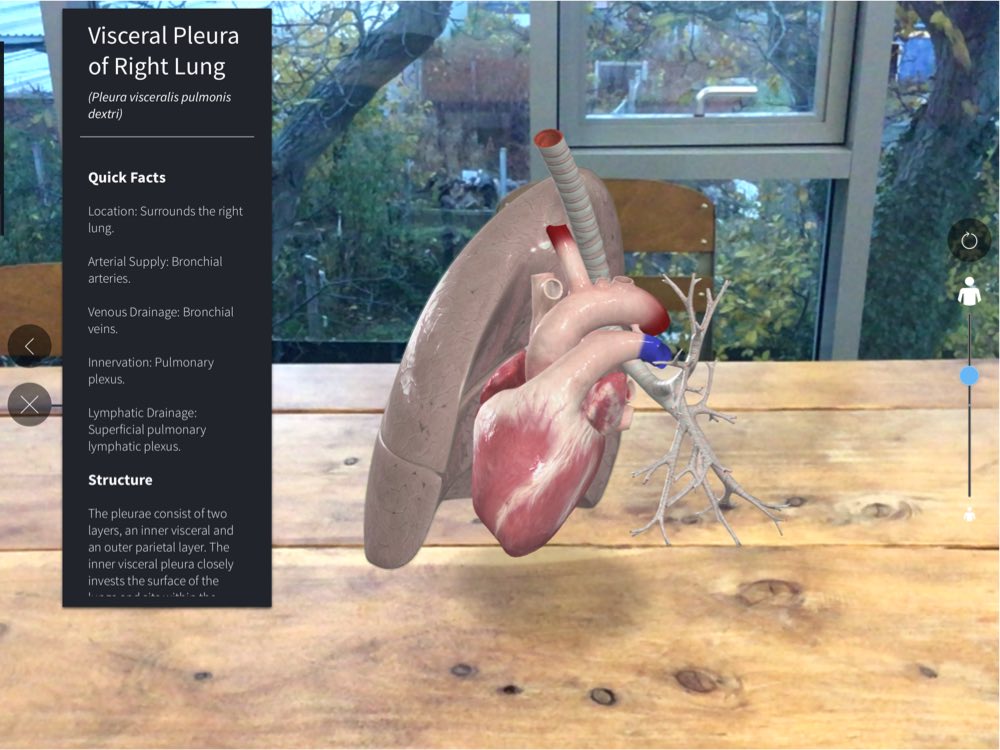
Selecting Structures
Tap a structure to view its description. The Infobox will appear on the left-hand side of the screen, and will move with your device so that the information is always visible to you.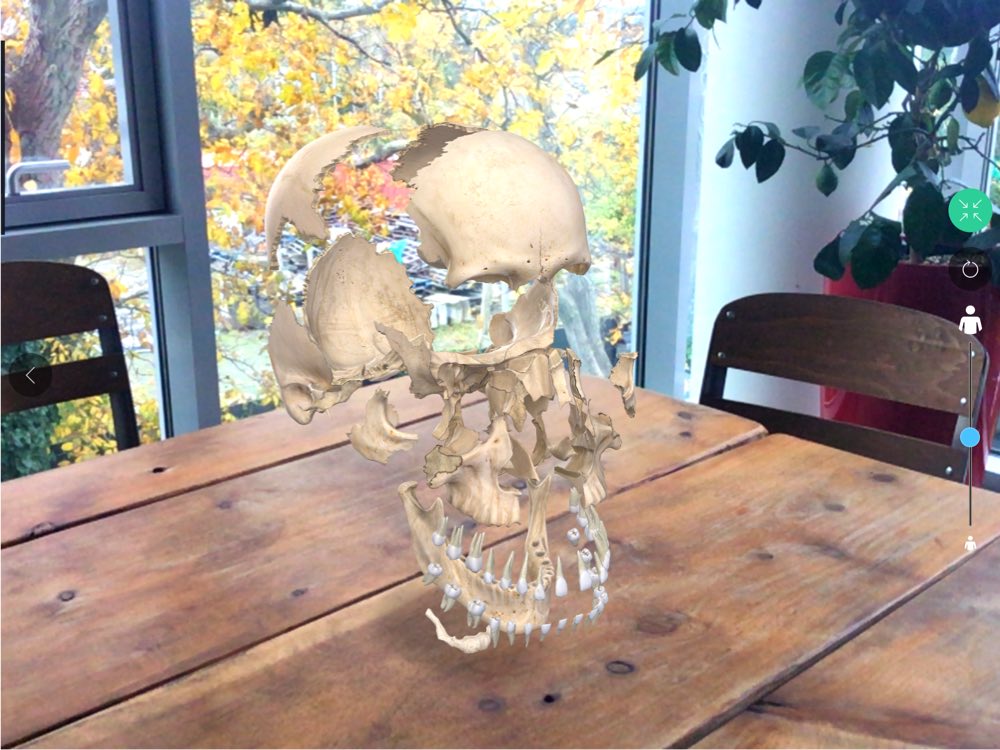
Explode
Where available, the Explode button will be displayed on the right-hand side of the screen. Tap to separate all of the structures in the current model view. Continue exploring and moving around to see all the details that were previously hidden! Press again to re-assemble your model.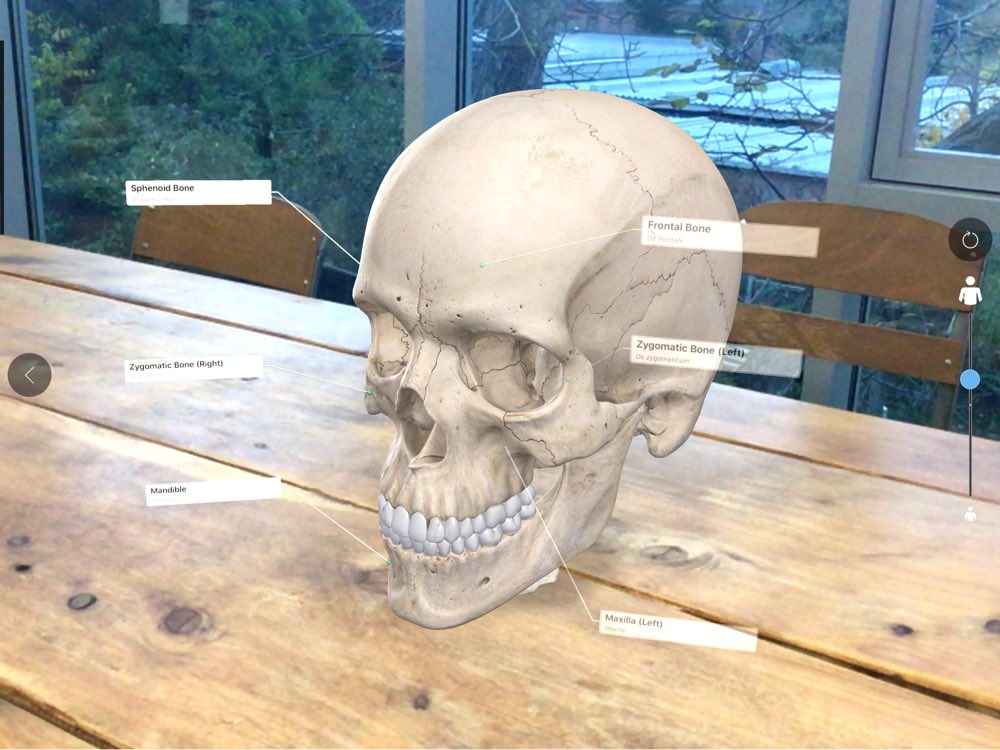
Viewing Labels
If Labels were attached to the current model position, you can also view these in AR Mode. Only Labels active in the current view will be accessible in AR Mode. As you move closer to the model, Labels for the structures in clearest view will become visible. Move around the model to view Labels for different structures. Move away from the model to hide Labels.
Exiting AR
Tap the exit button on the left-hand side of the screen to exit AR Mode.Multiuser AR
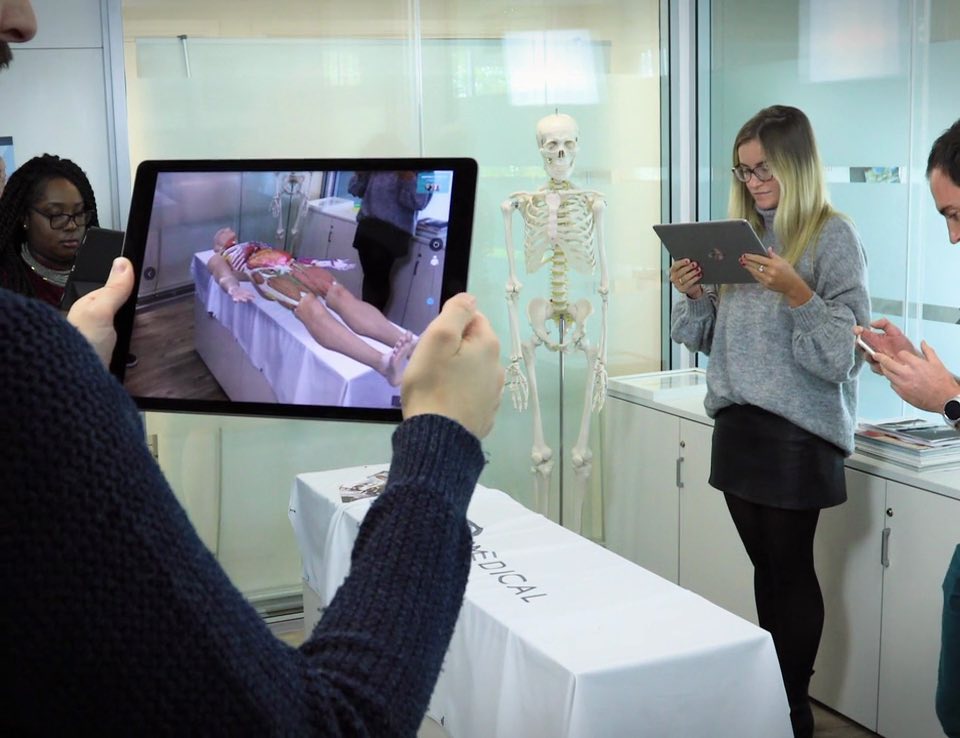
Share a model view in real-time with multiuser AR. Host a cadaveric dissection or follow along by joining a classroom. Available on iOS devices running on iOS 13 or later.
Host a multiuser AR session
-
Once your model is in place, hit the ‘Start Classroom’ button on the top right of the screen. You are now discoverable to other users who wish to join your session.
-
The other users should then move their view to the same position as the host to pick up the model and then they will automatically join the classroom. A list of participants will pop up on the top right of your screen as your virtual Classroom grows.
-
To end the Classroom, use the button on the bottom right.
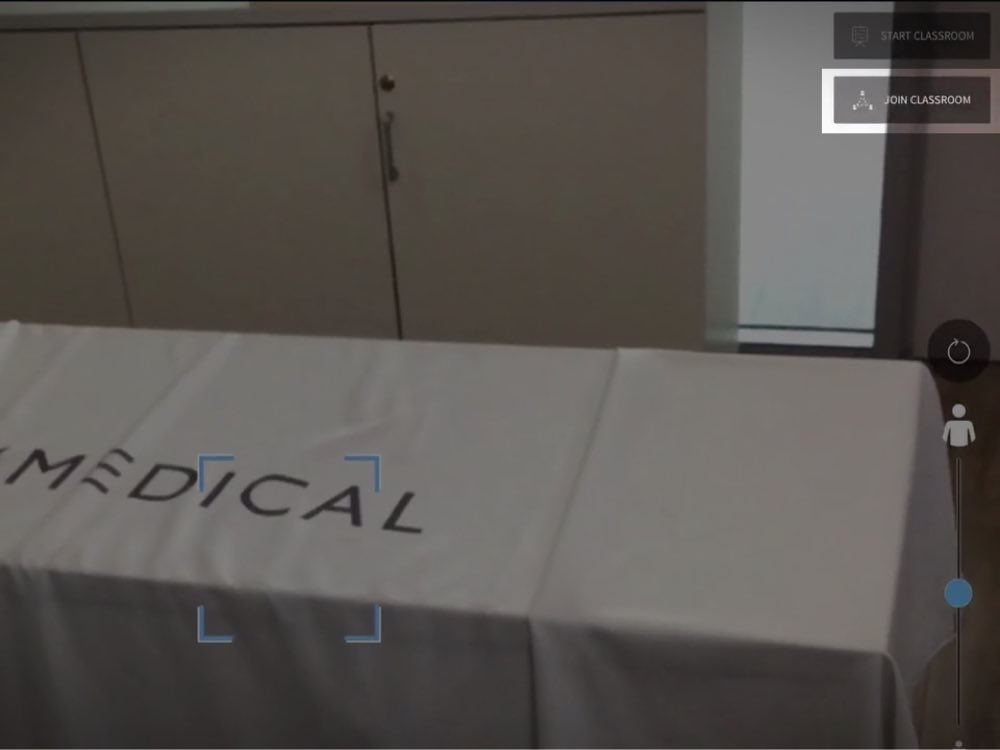
Join a multiuser AR session
- Once your host has started a classroom, you will see the ‘Join Classroom’ button appear. Hit this button, and select the Classroom you wish to join.
-
Once you’ve joined, you can either move your device around to place the model, or tap anywhere on a suitable surface.
-
With the model in place, you can now follow along as the Classroom Host moves the model around, and selects structures.
-
To leave any Classroom, use the button on the bottom right of the screen.